TITLE
VIDEO
MODEL
BIMvision – Main window and navigation

BIMvision – Menu VIEW
BIMvision – FILE
BIMvision – Menu OBJECT
BIMvision – Menu MEASUREMENT
BIMvision – MODEL CUTTING
BIMvision – bimvision protocol://
BIMvision Plugin – OBJECTS INFO

BIMvision Plugin – IFC COMMENTS / BCF
BIMvision Module – MULTIFILE MODULE
BIMvision Plugin – MTS
BIMvision Plugin – GALLERY
BIMvision Plugin – IFC PREVIEW
BIMvision Module – COMPARE MODULE
BIMvision Plugin – STL EXPORTER
BIMvision Plugin – ADVANCED REPORTS
BIMvision Plugin – CLASH DETECTION
BIMvision – IFC SPLIT
BIMvision – glTF EXPORTER
BIMvision – COBie Exporter
BIMvision – IFC MERGE
BIMvision Plugin – BIMserver.center

TIPS & TRICKS – three simple, useful tricks that you may have missed
SELECTION AREA You may be familiar with this feature from AutoCAD or another CAD program. Draw a selection area from right to left or from left to right. To draw a selection area: press and hold Ctrl, click the cursor in an empty space and, without releasing the mouse button, drag it to draw a…
TIPS & TRICKS. Save your model sections and smart views and bring them back to the model in seconds. The power of the Gallery plugin.
Watch the video and see what you can do. Create views with color markings, cross-sections or a selection of measurements to quickly switch to them later. Navigate through the IFC model to visualize a few selected elements or show a specific section of a project (construction/building/object) in a few seconds. Send your .gallery template files…
TIPS & TRICKS. Custom selector. How to use smart queries to define colors?
A “Custom selector” is a set of functionalities that allow you to create a selection mechanism based on the properties of elements. We can find it in various plugins such as Advanced Reports, Clash Detection, or Takeoff Reports. They may differ slightly in these solutions, but in general, the principle of operation is the same.…
TIPS & TRICKS. How to make a simple animation with the Advanced Reports plugin?
In Advanced Reports, you can visualize a simulation of the step-by-step creation of an object or animate another process based on a selected characteristic parameter. The animation is played according to groups of values (by grouping) or according to individual elements (then the “Per element” option should be additionally selected). The exemplary model contains information…
TIPS & TRICKS. How to quickly view property values throughout the project?
The IFC model is a set of data. They are assigned individual elements. In BIMvision, we have the ability to quickly review the defined parameters without having to click on each element in the model. The “Group” function of the Objects Info plugin allows you to display all the properties present in the file(s). In…
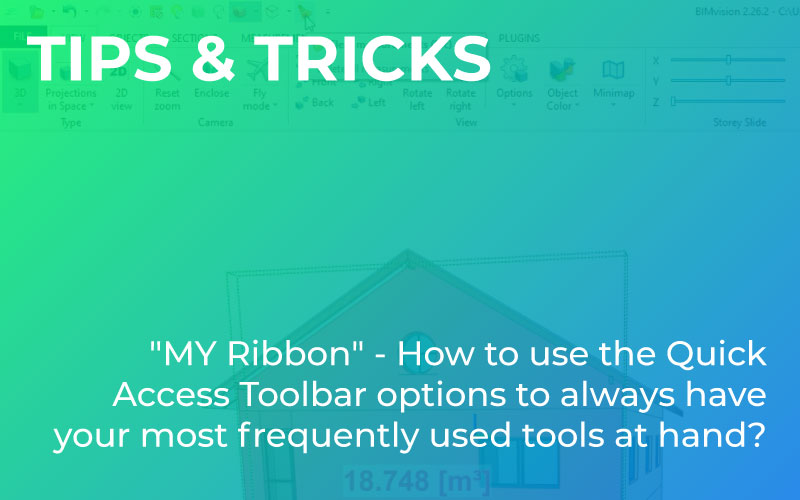
TIPS & TRICKS. “MY Ribbon” – How to use the Quick Access Toolbar options to always have your most frequently used tools at hand?
If we work with files in a certain way and repeat certain activities for which we need buttons from different tabs of the BIMvision main panel, we can improve our work. Instead of switching between tabs each time or looking for certain functions in them, that we use quite often, we can create a special…
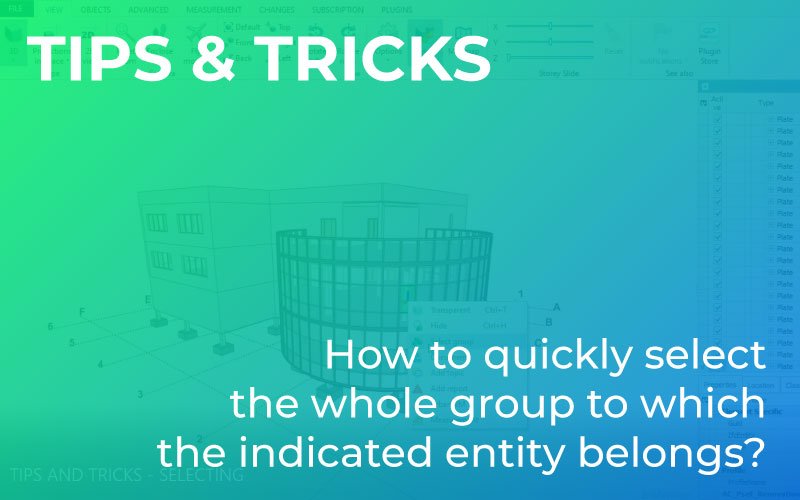
TIPS & TRICKS. How to quickly select the whole group to which the indicated entity belongs?
BIMvision allows you to quickly select the entire structure, group or assembly to which a single entity belongs. There are a few ways to quickly select the bigger part of the project starting from pointing an element. LET’S CHECK THEM OUT! THE FIRST OPTION The first method is to click on the one 3D entity…
TIPS & TRICKS. How to measure custom value when we do not have the vertices?
BIMvision allows you to measure custom distances, angles, areas or check the coordinates of various vertices. The problem, however, is when we DON’T HAVE these vertices, i.e. points with a measurable distance, in the model! So how can we take the measurement? How can we make such a point? The point is the point! Once…


Plugin Cooperation STEP-BY-STEP Practice [No.5]
TARGET:– quick selection according to the value of the chosen property– dividing elements into smaller parts to make measurements more accurate– measurements in the model and saving them in the form of views COURSE (plugins used): OBJECTS INFO, GALLERY, + MEASUREMENT and CUTTING options of BIMvision 1. Using the Objects Info plugin, we can very…
Plugin Cooperation STEP-BY-STEP Practice [No.4]
TARGET: – checking and comparing changes between revisions – creating a comprehensive project model with industries, e.g. as a reference model for Data drop COURSE (plugins used): MODULE: MULTIFILE – MODULE: COMPARE – IFC MERGE – IFC SPLIT Using the Multifile Module, we can open many different files simultaneously in one common BIMvision window. So…
Plugin Cooperation STEP-BY-STEP Practice [No.3]
TARGET: -merging the facility model with the model of the surrounding -adjusting the position of the models in relation to each other -creating a light preview file of the concept of the arrangement of objects COURSE (plugins used): MODULE: MULTIFILE – IFC MERGE – IFC SPLIT 1. Load the first file – for me it…
Plugin Cooperation STEP-BY-STEP Practice [No.2]
TARGET: – quick selection of elements according to the expected criteria – assigning documents related to individual elements – creating and saving color versions of the project COURSE (plugins used): OBJECTS INFO – EXTERNAL DOCUMENTS – GALLERY 1. Open the model to which you will assign technical documents, material cards and reference links. 2. Select…
Plugin Cooperation STEP-BY-STEP Practice [No.1]
TARGET: – creating separate batches for convenient management – extracting groups of created batches with selected parameters COURSE (plugins used): MTS – IFC SPLIT – MODULE:MULTIFILE – ADVANCED REPORTS 1. Open the model on the basis of which you will create and separate batches 2. We will use the MTS plugin (learn more, buy or…
![Plugin Cooperation STEP-BY-STEP Practice [No.5]](https://bimvision.eu/wp-content/uploads/2022/06/Cooperation-of-BIMvision-plugins-5-news.jpg)
![Plugin Cooperation STEP-BY-STEP Practice [No.4]](https://bimvision.eu/wp-content/uploads/2022/01/Cooperation-of-BIMvision-plugins-4-news.jpg)
![Plugin Cooperation STEP-BY-STEP Practice [No.3]](https://bimvision.eu/wp-content/uploads/2021/12/Cooperation-of-BIMvision-plugins-3-news.jpg)
![Plugin Cooperation STEP-BY-STEP Practice [No.2]](https://bimvision.eu/wp-content/uploads/2021/11/Cooperation-of-BIMvision-plugins-2-ews-1.jpg)
![Plugin Cooperation STEP-BY-STEP Practice [No.1]](https://bimvision.eu/wp-content/uploads/2021/09/Cooperation-of-BIMvision-plugins-news-3.jpg)